

Introduction
At Smart Home Automation System (SHAS), we create user guides to help homeowners install basic home appliances in a simple and easy-to-understand way. We help you understand basic installation so you can save money and do it yourself with a few basic steps. In this guide, we will be guiding you on how to install three home appliances: light fixtures, thermostats and security cameras.
Note: please try to follow each step closely and properly, also handle the appliances carefully to avoid breakage or injuries. Where there is a problem, please refer to our common troubleshooting issues in this article, if you are still stuck, call for professional help.
Installing lights fixture
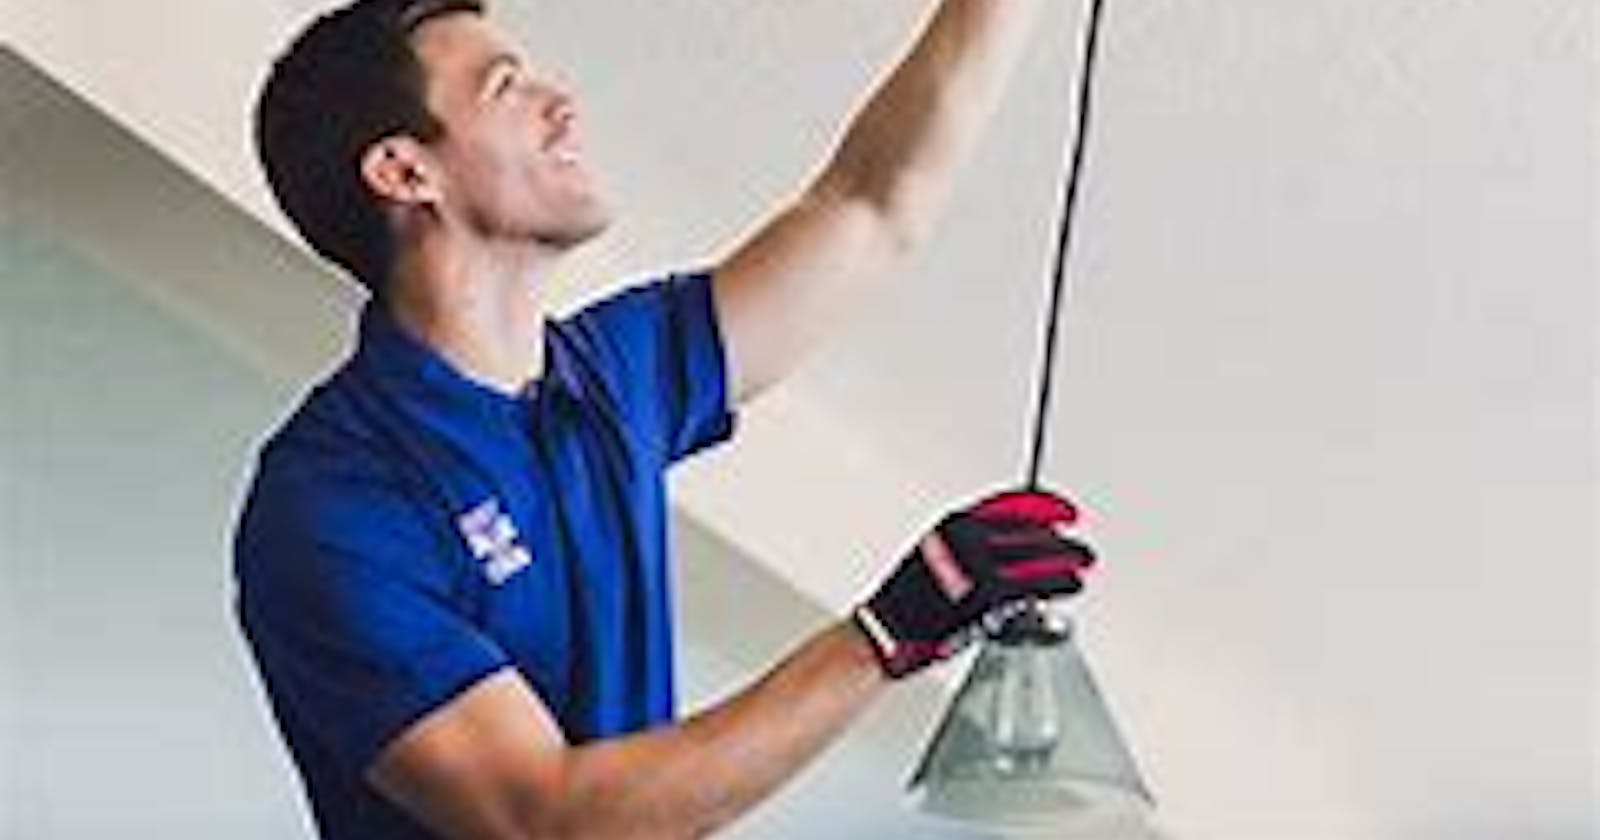
To install a light fixture, you would need a screwdriver, a light fixture and maybe a ladder. Follow the steps below carefully to install a light fixture.
Turn off the power at the breaker panel to the fixture.
If there is an existing light fixture, remove it by unscrewing and disconnecting from the house wires.
3.If there is an existing light fixture, there will be a bracket. You could choose to leave it if it fits or remove it by unscrewing it.
Place the new light bracket, making sure the hole on the wall matches the hole in the bracket and making sure the wire passes through the centre before screwing it.
Connect the light fixture wire to the house wire. Connect the black to black, white to white and put the copper to the ground. Cover the connection with a wire cap or tape.
Tuck the wires back into the junction box.
Place the light fixture canopy over the junction box and secure it with a screwdriver.
Flip the switch at the breaker box and turn on your light.
Installing thermostats
To install a thermostat, you would need a screwdriver, a thermostat and a wire cutter. Follow the instructions carefully to install a thermostat
turn off the power at the breaker panel to the thermostats.
remove the cover from your old thermostats.
label the wire or take a picture to remember where each wire goes.
unscrew the wires and remove the old mount from the wall.
Put on your new thermostat mount and connect the wires.
mount the cover of the new thermostats.
turn on your switch breaker.
configure your thermostat.
troubleshooting issues
light fixtures and thermostats like every other appliance can occasionally encounter issues. Understanding how to deal with these minor issues can save you time and money.
Troubleshooting light fixture issues
- dim or flickering light
solution: check the bulb for loose connection and tighten, if the problem persists, you could try changing the bulb. If the problem persists, it could be a wiring issue. Please get in touch with a professional
2.light not turning on
solution: check if the bulb needs replacement, if not, check the fuse box, if it's still not turning on, it might be a faulty wire or the switch.
3.Buzzing or humming sound
Solution: this is usually caused by faulty ballast in the fluorescent fixture. Please call a professional
Troubleshooting thermostats issues
- thermostats not responding
Solution: replace the battery if it is battery operated, if not check power sources.
2.Incorrect temperature reading
solution: recalibrate if has the feature, also clean the thermostat interior as the duct might be disturbing its sensors. If the problem persists call a professional.
3.The HVAC system is not responding
Solution if your heating or cooling system doesn’t respond to thermostat adjustment, inspect wiring, tighten any loose wiring and replace damaged ones.
Conclusion
Following the guidelines outlined above, you can successfully install a light fixture or a thermostat
safely at your home. Please do not forget to regularly inspect, clean and maintain your appliances. If you encounter any issues beyond your expertise please do well to contact a professional for help.